Home page
SPONSOR AD SPONSOR AD

Topic: Weatherstrip done!!!

in Forum: C3 Body


Weatherstrip done!!!

Posted: 6/22/05 7:43pm Message 1 of 5
Former Member
Send PM
Louisville, KY - USA
Joined: 11/11/2003
Posts: 97
Vette(s): 1971 LT1 Convertible PS PB 43K miles

Not too hard once you get the hang of it.  Dont even begin this job without a spray can of 3M Adhesive Remover.  It works great and makes the job much less frustrating. I think I got this can at Home Depot in the paint section. 

Also, weatherstrip adhesive will ruin paint if you leave it on the paint for more than a few seconds.  Dont ask me how I know this.

Neil


SPONSOR AD:: (Our Sponsors help support C3VR)

Weatherstrip done!!!

Posted: 6/24/05 5:27am Message 2 of 5
Lifetime MemberLifetime Member
Send PM
Canada
Joined: 8/6/2004
Posts: 533
Vette(s): Coupe 74 - 454 Drive it like you stole it!
 
Found out the same :
 
-removing the old weatherstrip : 15 minutes
-removing the old adhesive : 8 hours (you have to take breaks to go breath outside between each piece)
-installing new weatherstrip : 1 1/2 hour (1 hour alone for the t-tops)
 
Not having a bucket of water IN the car when you wash it : priceless!


Weatherstrip done!!!

Posted: 6/28/05 8:06am Message 3 of 5
Profile Pic
Lifetime MemberLifetime Member
Send PM
Fox Island, WA - USA
Joined: 6/20/2005
Posts: 4068
Vette(s): 1978 Indy Pace Car 4851 of 6502, Auto, L-48
So I'm looking at replacing both door main seals (run around bottom of door and up side) and the B Pilar seals, any other tips, tools that would be handy for this job?  Thanks.


MARK
LIFETIME MEMBER #117

Click here to see my new friend P-Racer
"Keep up the Pace"

Weatherstrip done!!!

Posted: 6/28/05 1:07pm Message 4 of 5
Former Member
Send PM
Louisville, KY - USA
Joined: 11/11/2003
Posts: 97
Vette(s): 1971 LT1 Convertible PS PB 43K miles

It's pretty straight forward.  You dont need to take the pilar trim off - just pull out the weather strip after spraying with 3M Weatherstrip Adhesive remover.  There are 3 screws under the pilar weatherstrip that hold the outer trim piece to the inner piece but you should not have to remove those.  There is one more screw at the very top that holds the tip of the of the weatherstrip to the trim and this screw should come out.

Another good tip I got on the forum when installing the door and pilar stripping is to screw in each end first and then glue towards the middle.  This is especially true of the pilar seals so you don't end up with a piece sticking up above the pilar afterwards. 

After you get the stuff on just shut the doors overnight and everything will dry in position.

The only drawback I have noticed so far is that my side windows dont fit into the weatherstripping as tightly (gaps) as they use to.  The new stripping is not worn out at the front edge of the window like the old stuff so I will have to adjust the windows for a snug fit soon.

Good luck
Neil         &n bsp;         &n bsp;         &n bsp;         &n bsp; 
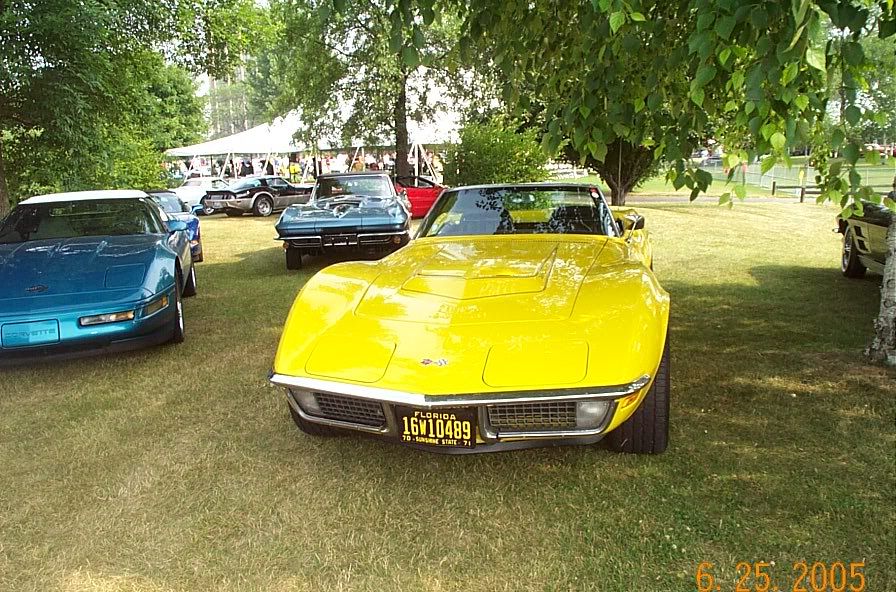
YellowLT138531.5507175926


Weatherstrip done!!!

Posted: 6/28/05 4:28pm Message 5 of 5
Lifetime MemberLifetime Member
Send PM
Canada
Joined: 8/6/2004
Posts: 533
Vette(s): Coupe 74 - 454 Drive it like you stole it!
Same as YellowLT1 here; have to re-adjust the window angle after, but nothing complicated here.  And as he said, don't apply adhesive where the screws are on the new weather strip.
 
Take your time on removing the old adhesive.  With enough elbow grease, it will ALL come out; you just need patience.
 
If you never used the 3M remover before, you need to know to get a good pair of gloves and do it in a very well ventilated area.  Don't be cheap on that stuff.  I found that soaking a rag, rubbing the old adhesive one time and let it sit for a minute and then come back with more remover was faster than just start rubbing like a mad man. This is how I did it and had no problem with the paint.  I have read that other people might have damage their paint with the remover by letting it there for too long.
 
It was also suggested on another post to clean both side before applying the new weatherstrip.  That is; clean with soap/water the area where you used the 3M remover and clean the new weatherstrip with alcohol to remove the static and thin coat of dust it might have on it.
74-45438531.6900115741


in Forum: C3 Body


SPONSOR AD: (Our Sponsors help support C3VR)